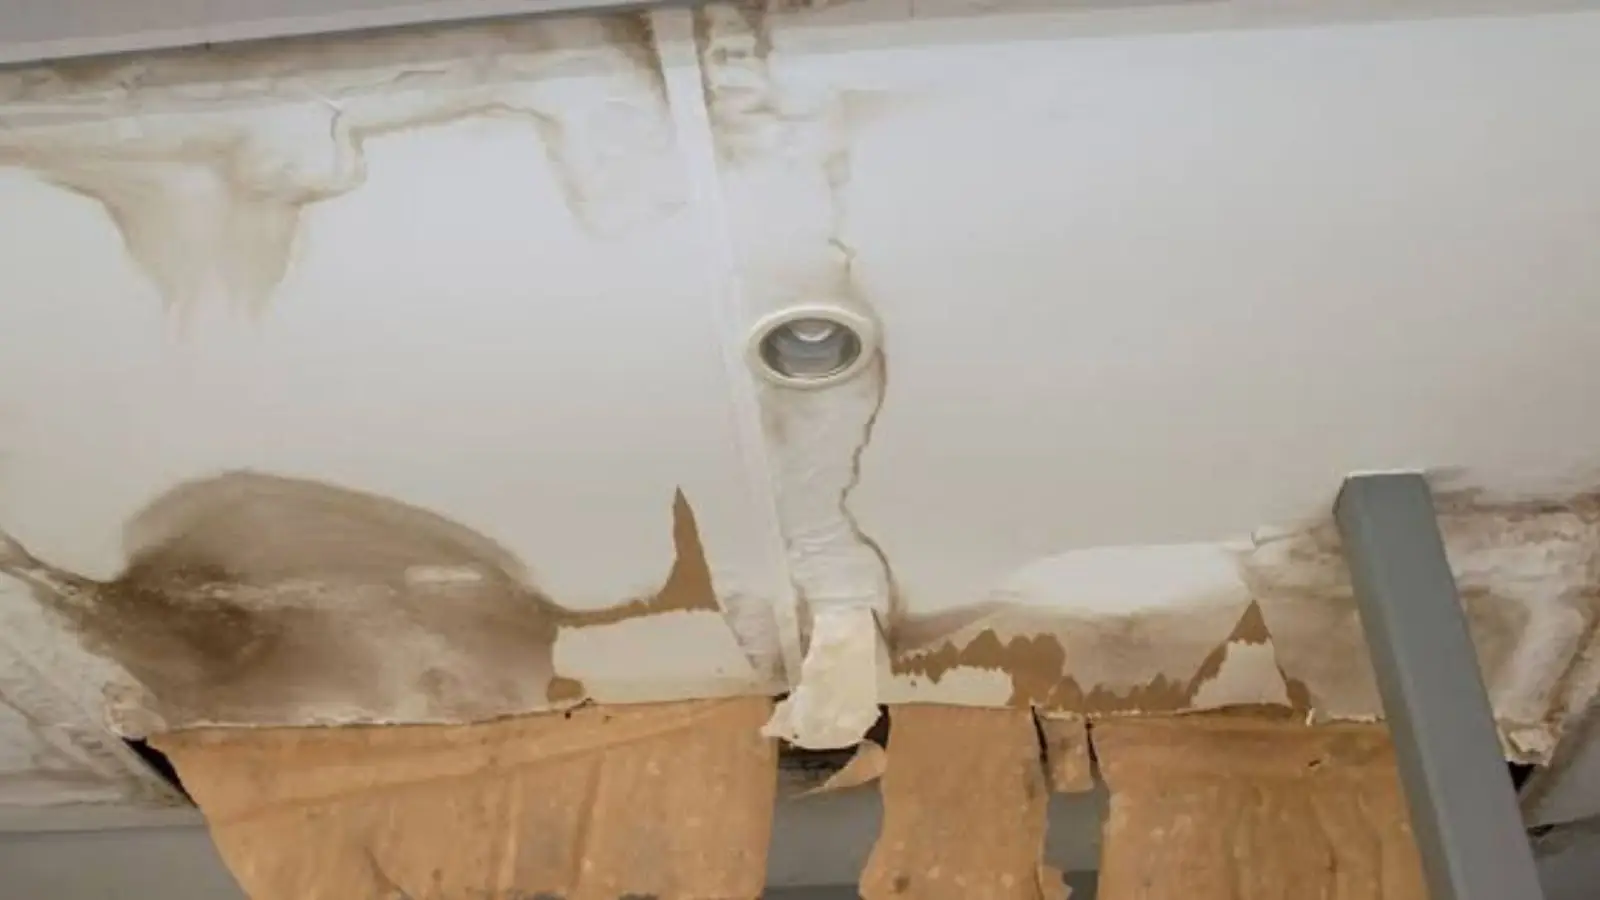
Fixing a water-damaged ceiling in Hopkinton, MA means removing the wet or weakened drywall, drying what remains and rebuilding the surface so the repair disappears. A ceiling patch is only as good as the work that comes before it. Order matters more than skill here, because every step that comes out of sequence either traps moisture or shows through the paint later.
Step 1: stop the water at its source
Nothing you do to the ceiling matters while water is still arriving. Shut off the supply to the fixture or appliance, cover the roof with a tarp if the weather is active, or have the plumbing or roof problem fixed first. If you cannot find the source, water mitigation includes moisture mapping that traces wet material back toward where it started.
Keep a bucket under any active drip and move furniture out of the room. Photograph everything before you change it, including the water height, the stain and any belongings affected.
Step 2: protect the room and the people in it
Turn off power to any circuit feeding lights or outlets in the wet area. Lay plastic sheeting on the floor and open windows if the weather allows. Before disturbing a painted ceiling, know that the state health guide says disturbing more than 6 square feet of painted interior surface triggers lead-safe work rules, so a large cut-out in an older house deserves a call before you start.
Step 3: decide what must come out
Press the ceiling with a gloved hand and a screwdriver handle. Anything that is soft, crumbling, sagging or stained through has to go. Insulation above a wet ceiling is usually removed too, because soaked batts lose their value and hold water against the board.
Signs the drywall must be cut out, not saved
- The board sags or bows below the framing
- The surface crumbles or the paper face peels away
- A screwdriver sinks in without force
- There is a musty smell or dark spotting on the underside
- The stain has soaked through to the back of the board
- Water sat on the board for more than a day or two
Step 4: cut it back to dry, solid material
Mark a square or rectangle that reaches the nearest framing members on both sides. Score the paper with a utility knife and cut along the line, then pull the damaged board free. Leave the cut edges landing on the middle of a joist so the new piece has something to screw to.
Wear eye protection, a dust mask and gloves. Bag the debris as you go. If you see black or green growth on the back of the board or on framing, stop and read the guidance on mold remediation before continuing.
Step 5: dry the cavity completely
This is the step people skip. Open framing, fans and a dehumidifier will dry the cavity far faster than closed drywall. The state health department says wet areas are best dried within 24 hours, and the housing code expects leak-affected areas to be dry within 48 hours.
Do not close the ceiling because it feels dry to the touch. A moisture meter reading on the joists is the only proof. If readings stay high after a few days, professional water damage cleanup with proper drying equipment is faster and safer than guessing.
Step 6: patch, tape and finish
- Replace insulation if it was removed, keeping it dry and snug.
- Cut a drywall patch to fit the opening, or add wood backing strips if no framing is exposed.
- Screw the patch to the joists and backing, sinking each screw just below the paper.
- Apply paper or mesh tape over every seam, then a first coat of joint compound.
- Sand lightly after each coat and apply two or three thin coats, feathering the edges wide.
- Wipe the dust off before priming.
Step 7: prime with a stain blocker, then paint
Brown stains bleed through ordinary paint. Use a stain-blocking primer on the patch and on any old stain that stays, let it dry fully, then paint the whole ceiling plane edge to edge. Painting only the patch makes it show in raking light. Do not paint or caulk over any area with mold growth.
Who is likely to do this repair in Hopkinton
The Census Bureau reports an owner-occupancy rate of about 86.7 percent in Hopkinton for 2020 through 2024, which means most ceiling repairs here are decisions made by the people who live in the house. The state home improvement program says homeowners doing their own work do not need to register as contractors.
The practical tie-back is that a small, dry patch is a reasonable weekend project, while a large sagging area, a wet cavity or a ceiling with unknown moisture is better handled by a trade. Hiring out also brings state contract protections that do not apply to your own labor.
Source type: Census QuickFacts
When to hand the job to a professional
Call for help when more than one room is wet, when the ceiling is sagging across a wide span, when the water came from a bathroom or sewer line, or when the stain has a smell. Larger jobs also fall under water damage repair, which covers the full rebuild after drying is confirmed.
If you live toward Ashland or Holliston, the same sequence and the same dispatch line apply to your home.
Want the drying done right before you patch?
Call (508) 446-9244. Tell us what you see on the ceiling and where the water came from, and we will explain the scope first.
Frequently Asked Questions
Until a moisture meter shows normal readings on the drywall edges and the framing. That may take a few days with open framing and airflow. Touch alone is not reliable.
Only if the board around it is dry and solid. Cut back to firm material that lands on framing, and replace insulation that got wet. A patch over a wet cavity usually fails.
The town page does not give a general rule for repairs. It says a contractor supervisor license is not always required but that does not mean a permit is not required. Ask the Inspectional Services office at Town Hall, 18 Main Street, before larger work.
Ordinary paint does not block the tannins and minerals in an old stain. Use a stain-blocking primer, and make sure the source is fixed and the board is dry first.
No. Keep your body to the side, relieve the water slowly and use eye protection. If the sag is large, have a professional handle the removal.